

#030. Character Development
A step-by-step guide to my favorite makeup products and placements

My hair taught me to think of beauty in characters. Growing up in predominantly white spaces, I was often the only person whose hair could change so dramatically from one month to the next. Moving between box braids in different lengths and sizes, sew-ins, cornrows, clip-ins, relaxers, and my natural hair allowed me to look and feel completely different with every style. That ability to oscillate between versions of myself felt like a superpower and was, quite frankly, really f*cking awesome.
As I’ve gotten older and better at makeup, it has come to serve a similar purpose — giving me another way to slip into different characters depending on how I want to look and feel.

Of course, I have favorite makeup looks, just as I have favorite hairstyles. When it comes to makeup, though, I think experimentation needs a base character. The eyes might change, the blush might get brighter or deeper, and a few extra products may unlock a different character, but the placements and core products stay almost exactly the same. This is the face I return to, the one my friends ask me about most, and the foundation for every other look I turn on and off.
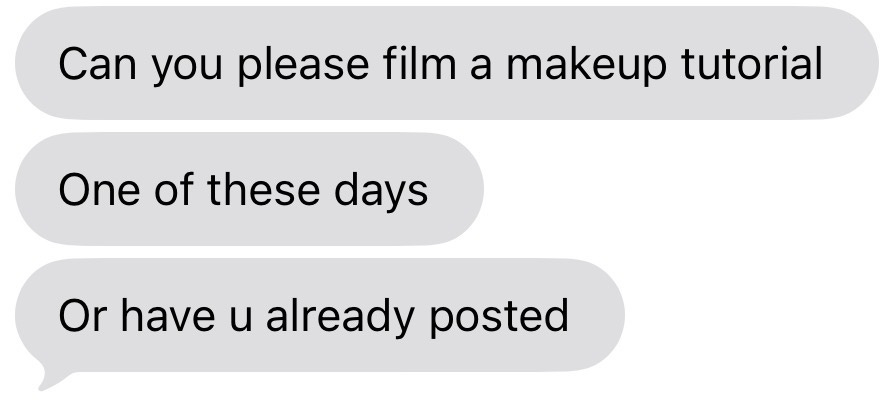
I WANT to tell you about it.



SKIN
My default character requires moisturizer, targeted oil control, and a glowy primer. The exact products may change, but the sequence does not.
The Tatcha Dewy Skin Cream is my favorite pre-makeup base, and I also love Dieux Instant Angel. Experiment’s Molecular Mesh is another great option and the least expensive of the three, though really, any moisturizer that hydrates your skin will do the job.
I used to get oily around my nose before going on Accutane, so I built an oil-control routine that I’m honestly not sure I still need anymore. Nevertheless, I apply the Danessa Myricks Water Powder Serum to my nose, followed by either the NARS Light Reflecting Primer or the Saie Glowy Super Gel on my cheeks, forehead, and chin.
I like to let everything sit for a second between steps. Once the priming has marinated a bit, I apply the Danessa Myricks Yummy Skin Blurring Balm Powder with my fingers, then buff it out with the Sephora Collection #88 Brush.
At this point, I look like the Peanut Butter Baby because my skin is so hydrated, but the Blurring Balm has made everything one even tone.
COMPLEXION
I’m hyper-loyal to the HAUS LABS Triclone Foundation. It sits beautifully on top of the Danessa balm, and the color match is perfect. I tap it on with my fingers first, then buff everything out with the Sephora Collection #70 Brush.
Then I apply the HAUS LABS Triclone Concealer underneath my eyes, on my chin, and at the center of my forehead. I leave my placements untouched for a moment while I do my brows.
I use the ABH Brow Powder Duo with their Dual-Ended Angled Brush for my brows. Once they’re filled in, I highlight underneath with a thin line of the L.A. Girl Pro Conceal. Since it has a brush applicator, I apply straight from the tube for maximum control.
At this point, my base is on, my brows are done, and all of my concealer is sitting patiently where I placed it. I mist everything with the e.l.f. Power Grip Setting Spray to rehydrate the concealer before I blend.
Then I use the Rare Beauty Concealer Brush to feather out the under-eye concealer. I soften underneath my brows with a flat concealer brush from Ulta in 2016. Once I’m rid of any harsh lines, I switch to either a dampened Paw Paw sponge or a powder puff to blend everything out.
When damp, the Paw Paw has the ideal amount of bounce — soft enough to press product seamlessly into the skin, but firm enough to control placement and diffusion. It works just as well dry, comes in a multipack, and costs a fraction of what most prestige beauty sponges do.
Honestly, this might be my favorite stage of the whole routine — a glowy, perfectly even complexion with really fresh-looking concealer placement. Wish I could leave the house in this state
DIMENSION
One of the first contour products I ever
stole frommy sisterused was the Fenty Beauty Match Stix in shade Espresso, and after trying so many others, I’ve returned home. The color and formula are just perfect for me. I apply it in a C-shape around my cheekbones and blend it with the Rare Beauty Foundation Brush.I also like the LYS Beauty Stick, but it’s much creamier and can get muddy quickly. I’ve used Saie Dew Bronze and the new Rhode Pocket Bronze as well, but I prefer both over skincare and sunscreen rather than as part of a full complexion lineup.
Once bronzed, I apply the Ulta Beauty Collection Too Cheeky Lip & Cheek Color Stick in Debut directly on top of the contour placement and blend upward with the same brush. This creates the perfect transition between the contour, my blush, and my under-eye concealer. I do this every single time, no matter what blush color I’m wearing.
COLOR
From there, I rotate blushes depending on the vibe. Lately, I’ve been liking a true berry pink, which I get from the Saie Dew Blush in Chilly. If I want something brighter and pinker, I use the Makeup by Mario Soft Pop Blush Stick in Raspberry. If I want to move away from pink altogether, I reach for either the purple-toned Danessa Myricks Yummy Skin Blush Flushed in Grape Soda or the coral-toned e.l.f. Camo Liquid Blush in Pinky Promise (best set with toni bravo’s Downtown Daiquiri shade for Tower 28). Regardless of color story, I place my blush of the day closer to the center of my face — unlike the Ulta shade, which stays higher on the cheekbone.
Before blending that out, I go back underneath my eyes with the Maybelline Instant Age Rewind Eraser in Light/Medium to brighten, then mist everything again with the e.l.f. spray.
While that sits, I start cleaning up my bathroom counter because, by this point, I’ve taken out all of my products and brushes.
Once adequately marinated, I come back to the under-eye concealer and blend it out with a powder puff. After that, I feather out the blush placement with a not-too-dense, mid-sized tapered brush.
From there, I start powdering. Lately, I’ve been skipping powder bronzer and setting my blush with a coordinating powder shade using the Saie The All-Over Powder Brush. I’m not precious about the placement — the goal is simply to melt everything together.
I almost always use the pink Pat McGrath Blurring Under-Eye Powder under my eyes. If I haven’t gone red or pink with my blush, I’ll reach for either the Huda Beauty Easy Bake Powder in Kunafa or the ONE/SIZE Ultimate Blurring in Marigold, but that’s rare.
At this point, I’m done with powders and ready to spray the ONE/SIZE On ’Til Dawn all over my face. If I really need everything to stay put, I’ll apply the Charlotte Tilbury Airbrush Flawless Pressed Powder in the areas that haven’t already been powdered (ie. my forehead, chin, and underneath the contour placement) for an extra layer of security.
Then, for good measure, I lightly dust the Saie Brush (with no additional product on it) over the perimeter of my face.
DEFINITION
By the time I reach the eyes, the base character is set. More often than not, I use the blush color of the day and a little bronzer to tie everything together, sweeping both over my eyes with the same tapered brush from before.
If I’m building out a fuller eye look, I tend to gravitate toward my blushes and bronzers, sometimes adding a light shimmer from an individual eyeshadow like this or this, but I’m not huge on shadow.
Then I apply waterproof lash glue to my KISS So Wispy lashes and let it get tacky while I do a light winged liner. I’m not loyal to one eyeliner, and I don’t see much difference between drugstore and “premium” liners. My only requirements are that it’s jet black and has a really precise, pointed tip.
Once my liner is finished and the lash glue is tacky, I apply the lashes, make sure they’re sitting perfectly, and fan them with my hand for a few seconds until the glue is completely dry.
FINISH
I’m generally uninterested in a lip combo because I don’t touch up my makeup once I’m done, so I often forget to reapply whatever liner-and-gloss pairing I started with. Though I’m primarily partial to a tube of Aquaphor, I do love all of the Anfisa shades and think the Prequel Sun Visor is great. Nevertheless, I’m self-aware enough to know there are better recommenders in this category than yours truly.
The very last step is one final mist. Saie City Set brings back the life and glow that the powders and ONE/SIZE spray can dull.
MAINTENANCE
If your makeup looks bad, there is a very real chance your tools are not clean. I wash my brushes every three to five uses — which is pretty frequent, considering I’ve had some of them since 2017. Fresh brushes keep products from getting muddy, ensuring everything lays down as you intend it to. If your characters have different signature colors, they also help prevent accidental cross-pollination.
I use Sephora Collection’s Daily Cleaner, spraying it directly onto a towel, then gently swirling each brush over the damp patch until the product lifts out.

After a sustained bout of breakouts, I spent about seven months on Accutane, prescribed and monitored by my dermatologist (who also happens to be my older sister and roommate). My skin has never looked or felt better, though that is simply my experience, not a recommendation either way. I highly recommend her if you’re in New York, and you can weigh my familial bias against her sensational reviews.
Good reminder for me to wash my brushes…🙃
I’ve been waiting for this one